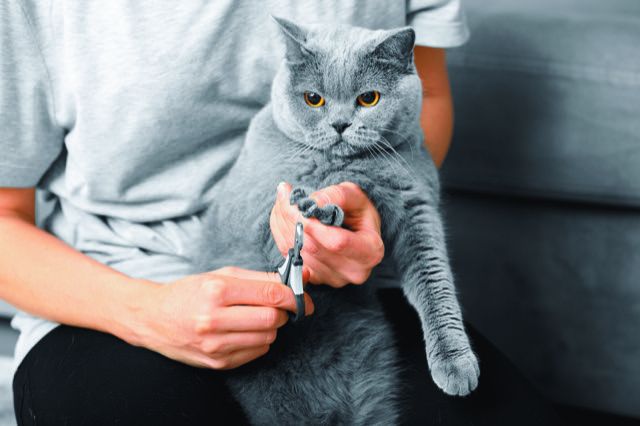
Because a lot of cats don’t like to be handled, a lot of people skip nail trimming, assuming the scratching post will take care of things by wearing down a pet’s nails. It won’t. Scratching does not really serve to trim a cat’s nails. It serves more to remove the outer layer of the nails, or claws, that have become frayed or worn. That exposes sharper layers underneath.
That’s not just bad for your upholstered furniture — and your lap as your pet jumps off. It’s also bad for your cat. If a nail with a sharp tip gets caught in, say, plush carpeting, a thick blanket, or even a piece of soft wood, it can end up breaking and causing her a lot of pain. Furthermore, nails that are allowed to grow extremely long can end up curving back and under into the footpad, making it difficult for your pet to move about.
That’s why it’s important for you to assume the role of feline pedicurist. Both the ASPCA and the Humane Society of the United States recommend giving your cat’s nails a trim in the neighborhood of every two weeks.
If you do it right, it’s not something you — or your cat — have to dread. You don’t even have to cut the nails on the back paws unless they hurt you when your cat jumps off; it’s the ones on the front that tend to cause problems. And you only have to snip the very sharp tip at the end of each nail. In fact, that’s all you should clip. Go any further and you risk cutting into the quick, a bundle of sensitive nerves and blood vessels that extend about midway into a cat’s nail and can cause pain and potentially bleeding if snipped.
Tool of choice
There are a number of types of clippers that will do the trick, such as:
➤A special pair of scissors that will hold a cat’s nail in place.
➤A device that looks like a tiny pair of pliers.
➤Sliding blades that act like a tiny guillotine. (Off with the tip’s head!)
Use the one that feels comfortable in your hands. Most cost between $10 and $20, and some cost even less than that. Just be certain the blade remains sharp. A dull blade can cause a cat pain and can make a nail split and even bleed. If you have to replace your cat’s nail clippers every once in a while, so be it.

Gently and Gradually
- Choose a time that your cat is feeling relaxed, perhaps even a bit sleepy. If she’s in an excited or ornery mood, it’s not going to work.
- If your cat is an adult and you’ve never clipped her nails before, start by touching and massaging one of her paws. Push a bit firmly on the top and bottom of the paw to get her claw to extend. You can do this with your cat on your lap, in the crook of your arm, or on a counter, chair, or couch that you kneel beside — whatever feels right.
- Praise your cat as you touch her feet, and coo to her while giving her treats for complying. Also, keep sessions short. Stop touching her paws before she gets antsy. Take a couple of weeks to get to know your cat’s feet this way. There’s no rush.
- When you feel your cat is super chill with the routine, clip just
one nail — remember, just the tippy tip. Keep the praise and treats coming. - The next day, or a couple of days later, try another nail. You never need to do all the nails in one session. If all at once works eventually, fine. But if your cat will only comfortably accept your trimming one or two nails at a time, that’s okay, too — as long as they’re all done about every two weeks.


